Micro Photography Tutorial and Tips for Beginners
When you go to the other side of macro photography as in the extreme side then you will get results as in micro photography. The little things would be photographed to look modestly big enough. This is the main motive of micro photography.

What does micro close up photography mean?
When you talk of close up photography, macro photography and micro photography they all would make you feel the same. But in reality, the basic difference lies here when you say micro subject and macro view should be the foundation of this form of photography. In micro, the ratio is greater than 5:1. Micro photography is a form of macro photography but with better magnification.
How does magnification work in micro photography?
- If you are using macro lenses then perhaps you will get magnification with 1:1 ratio. But to go more in detail and have better magnification, you will have to invest in a few accessories. These may include reverse lens, tele converters, and extension tubes and close up filters.
- When the magnification reaches up to 20 in comparison to the life size then you can say that you have magnified it well for the purpose of micro photography.
- If you want to include a microscope in this then perhaps the magnification will reach from 20 to 1500.
Best tips for micro photography
Do you think you want to formally take micro photography course? Well, there is no need to do that. Here are the best tips for you so that you can use your micro photography equipment in a better way.
1. Try to take sharp images
Taking micro lens photography images would seem to be tough in the first instance. But if you understand the concept well then you will see that the images that you get would be awesome. All you must do is practice a lot and that will help you to get the best images. Taking the sharp images will give you the right direction as such.
2. You may not need a tripod, but you will need a flash for sure
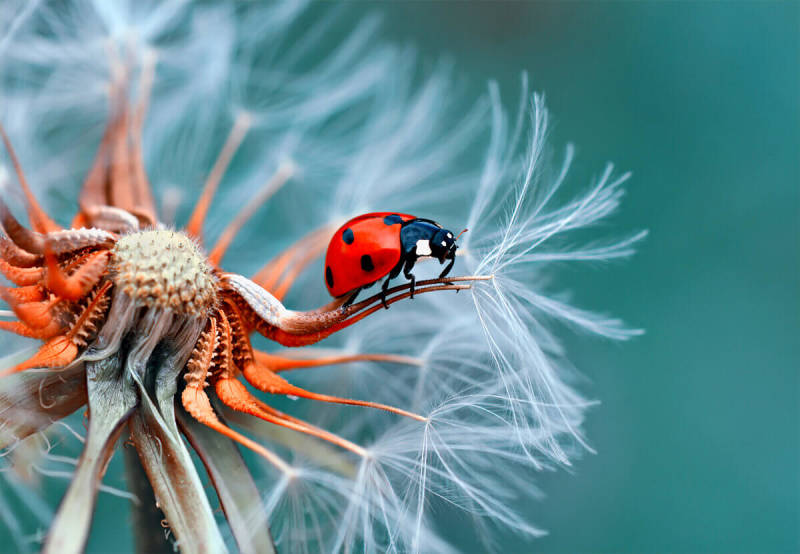
Since, there will be less amount of time to make the relevant preparations there will hardly be time to load the camera on the tripod. So, you can avoid this procedure. You will have to keep the camera lens very close to the subject. All you will need is the flash. This is because when the magnification enhances, the light effect will be less. Most of the good wildlife photographers would try micro photography with insects. The little insects would look big enough, well magnified and detailed when one tries micro photography.
3. Set the exposure well
If you are doing micro photography then it would be better that you test the exposure setting well and then as per the test result you go ahead. Set ISO as low and keep the shutter speed fast. Set aperture at the less value. This will help in getting better focus, depth and sharpness.
4. Experiment a lot
If you are looking forward for micro nature photography or micro landscape photography then I would suggest that without any apprehension, you should experiment a lot first. Taking many shots with different angles, different means and in different ways will help you seek better results.
5. Invest in good equipment and accessories
Ideally, you should have a DSLR camera and then there should be a microscope attached to the same. If you do not have access to microscope then macro lenses will also help you. If you are using 50mm lens then you will have to go close and then shoot. But this might disturb the subject. So, 200mm lens would be good because you can shoot from the distance.
6. Be watchful
In order to be successful in the first shot only, it would be better that you are watchful enough. You should see the movement of subject or the insect or the bird and see when it would settle and be standstill. May be during the feeding hours you may find such stagnancy. So, just try and see which time of the day would be apt for photography!
Conclusion
I hope, the above read was helpful for taking up micro photography. Do let us know how you liked this blog Micro Photography Tutorial and Tips for Beginners and share you views here in comments.